I am at the moment working on a servo controller for the LEGO NXT based on the PICAXE 20X21.
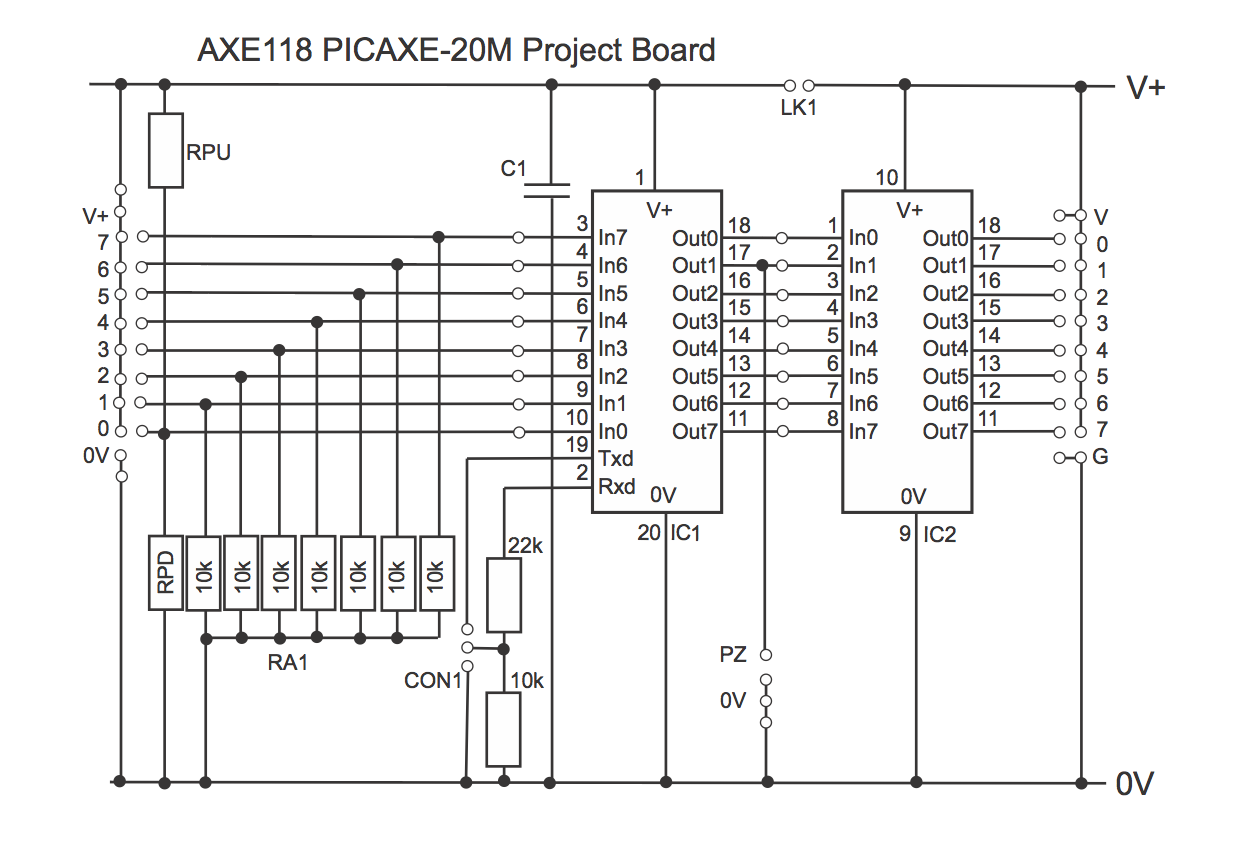
When you design a circuit, you usually use schematics like these:

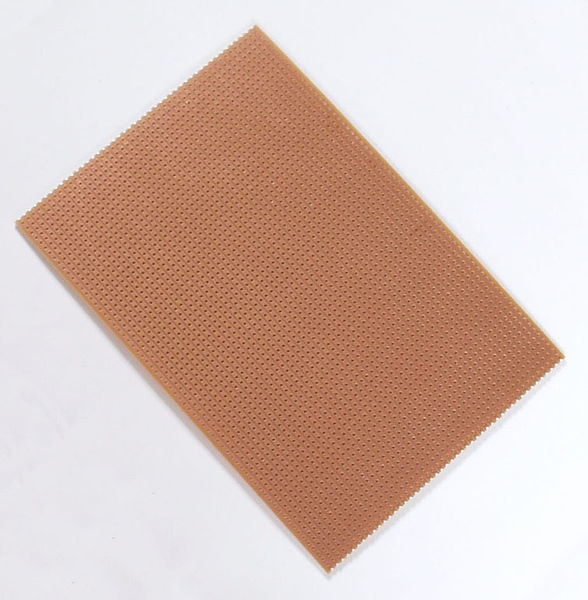
However, when you actually want to solder the circuit, you either get a PCB, or you use stripboard, which looks like this:

It is basically a board full of holes, with horizontal copper lanes connecting rows of holes.
All you have to do is insert the pieces so that things that should connect are on the same lane. To make things even easier, you can break lanes, or join lanes with a wire link.
Wait a moment… If we lay out the components like on the schematic, nothing will connect correctly!
Right, this brings me to the meat of this post. How can we automate this, to get an optimal and flawless translation from what is basically a graph, to a set of lanes?
I think the best tool for this job is constraint logic programming, of which cKanren is a neat implementation on top of MiniKanren.
Our program is somewhat related to the N-Queens problem, for which a solution is implemented in section 4.2 in the cKanren paper.
In he N-Queens problem, N queens must be arranged on an NxN board, so that no queen attacks another queen. This is implemented using all-difffd2, which forces the queens to all be on different rows, columns and diagonals.
Likewise, we can require our components to be all-difffd when it comes to lanes, but our situation is a little more complicated.
- Components have multiple points which have constraints of themselves3
- Lanes need to be broken under uC’s and might be broken for compactness.
- Lanes might need to be joined with a wire link.
Let me state right away that I have not solved all of these complications, but I’ll let you in on my thought process.
For starters, lets define lanes as a finite domain of numbers. This allows us to use all-difffd, but gets us in trouble when we need to express broken lines.
(fresh (lane)
  (infd lane (range 0 50)))
In this simplified version, I also just defined components as a list of points they are connected to. Components that are connected, use the same fresh variable. This also gets us into trouble when we insert wire links.
> (run 1 (q)
    (fresh (l1 l2 l3 l4)
      (infd l1 l2 l3 l4 (range 0 10))
      (== q (list (list 'r1 l1 l2) (list 'r2 l3 l4) (list 'fet l1 l3 l2)))
      (distinctfd (list l1 l2 l3 l4))))
(((r1 0 1) (r2 2 3) (fet 0 2 1)))
The result is rather boring, as it just echoes back what is connected to what. It does get a little more interesting when we add constraints.
(define lanes (range 0 50))

(define lane
  (lambda (l)
    (infd l lanes)))

(define resistor
  (lambda (l1 l2 r)
    (fresh (l2+)
      (lane l1)
      (lane l2)
      (lane l2+)
      (plusfd l2 2 l2+)
      (<fd l2+ l1)
      (== r (list 'r l1 l2)))))
Now we can get some valid resistor positions, and incorporate their constraints into the full application.
> (run 5 (q) (fresh (l1 l2) (resistor l1 l2 q)))
((r 3 0) (r 4 0) (r 4 1) (r 5 0) (r 5 1))
> (run 1 (q)
    (fresh (l1 l2 l3 l4 r1 r2)
      (infd l1 l2 l3 l4 lanes)
      (resistor l1 l2 r1)
      (resistor l3 l4 r2)
      (== q (list r1 r2 (list 'fet l1 l3 l2)))
      (distinctfd (list l1 l2 l3 l4))))
(((r 3 0) (r 4 1) (fet 3 4 0)))
How to proceed from here? I don’t know. I think we need to find a different representation for lanes, to support breaking and joining them.
I started writing a goal called connectedo, to consider 2 lanes with a wire link between them as connected, but this is unfinished.
