Wishful Coding

Didn't you ever wish your
computer understood you?

Why Are Guillotine Blades Angled? (analyzed)

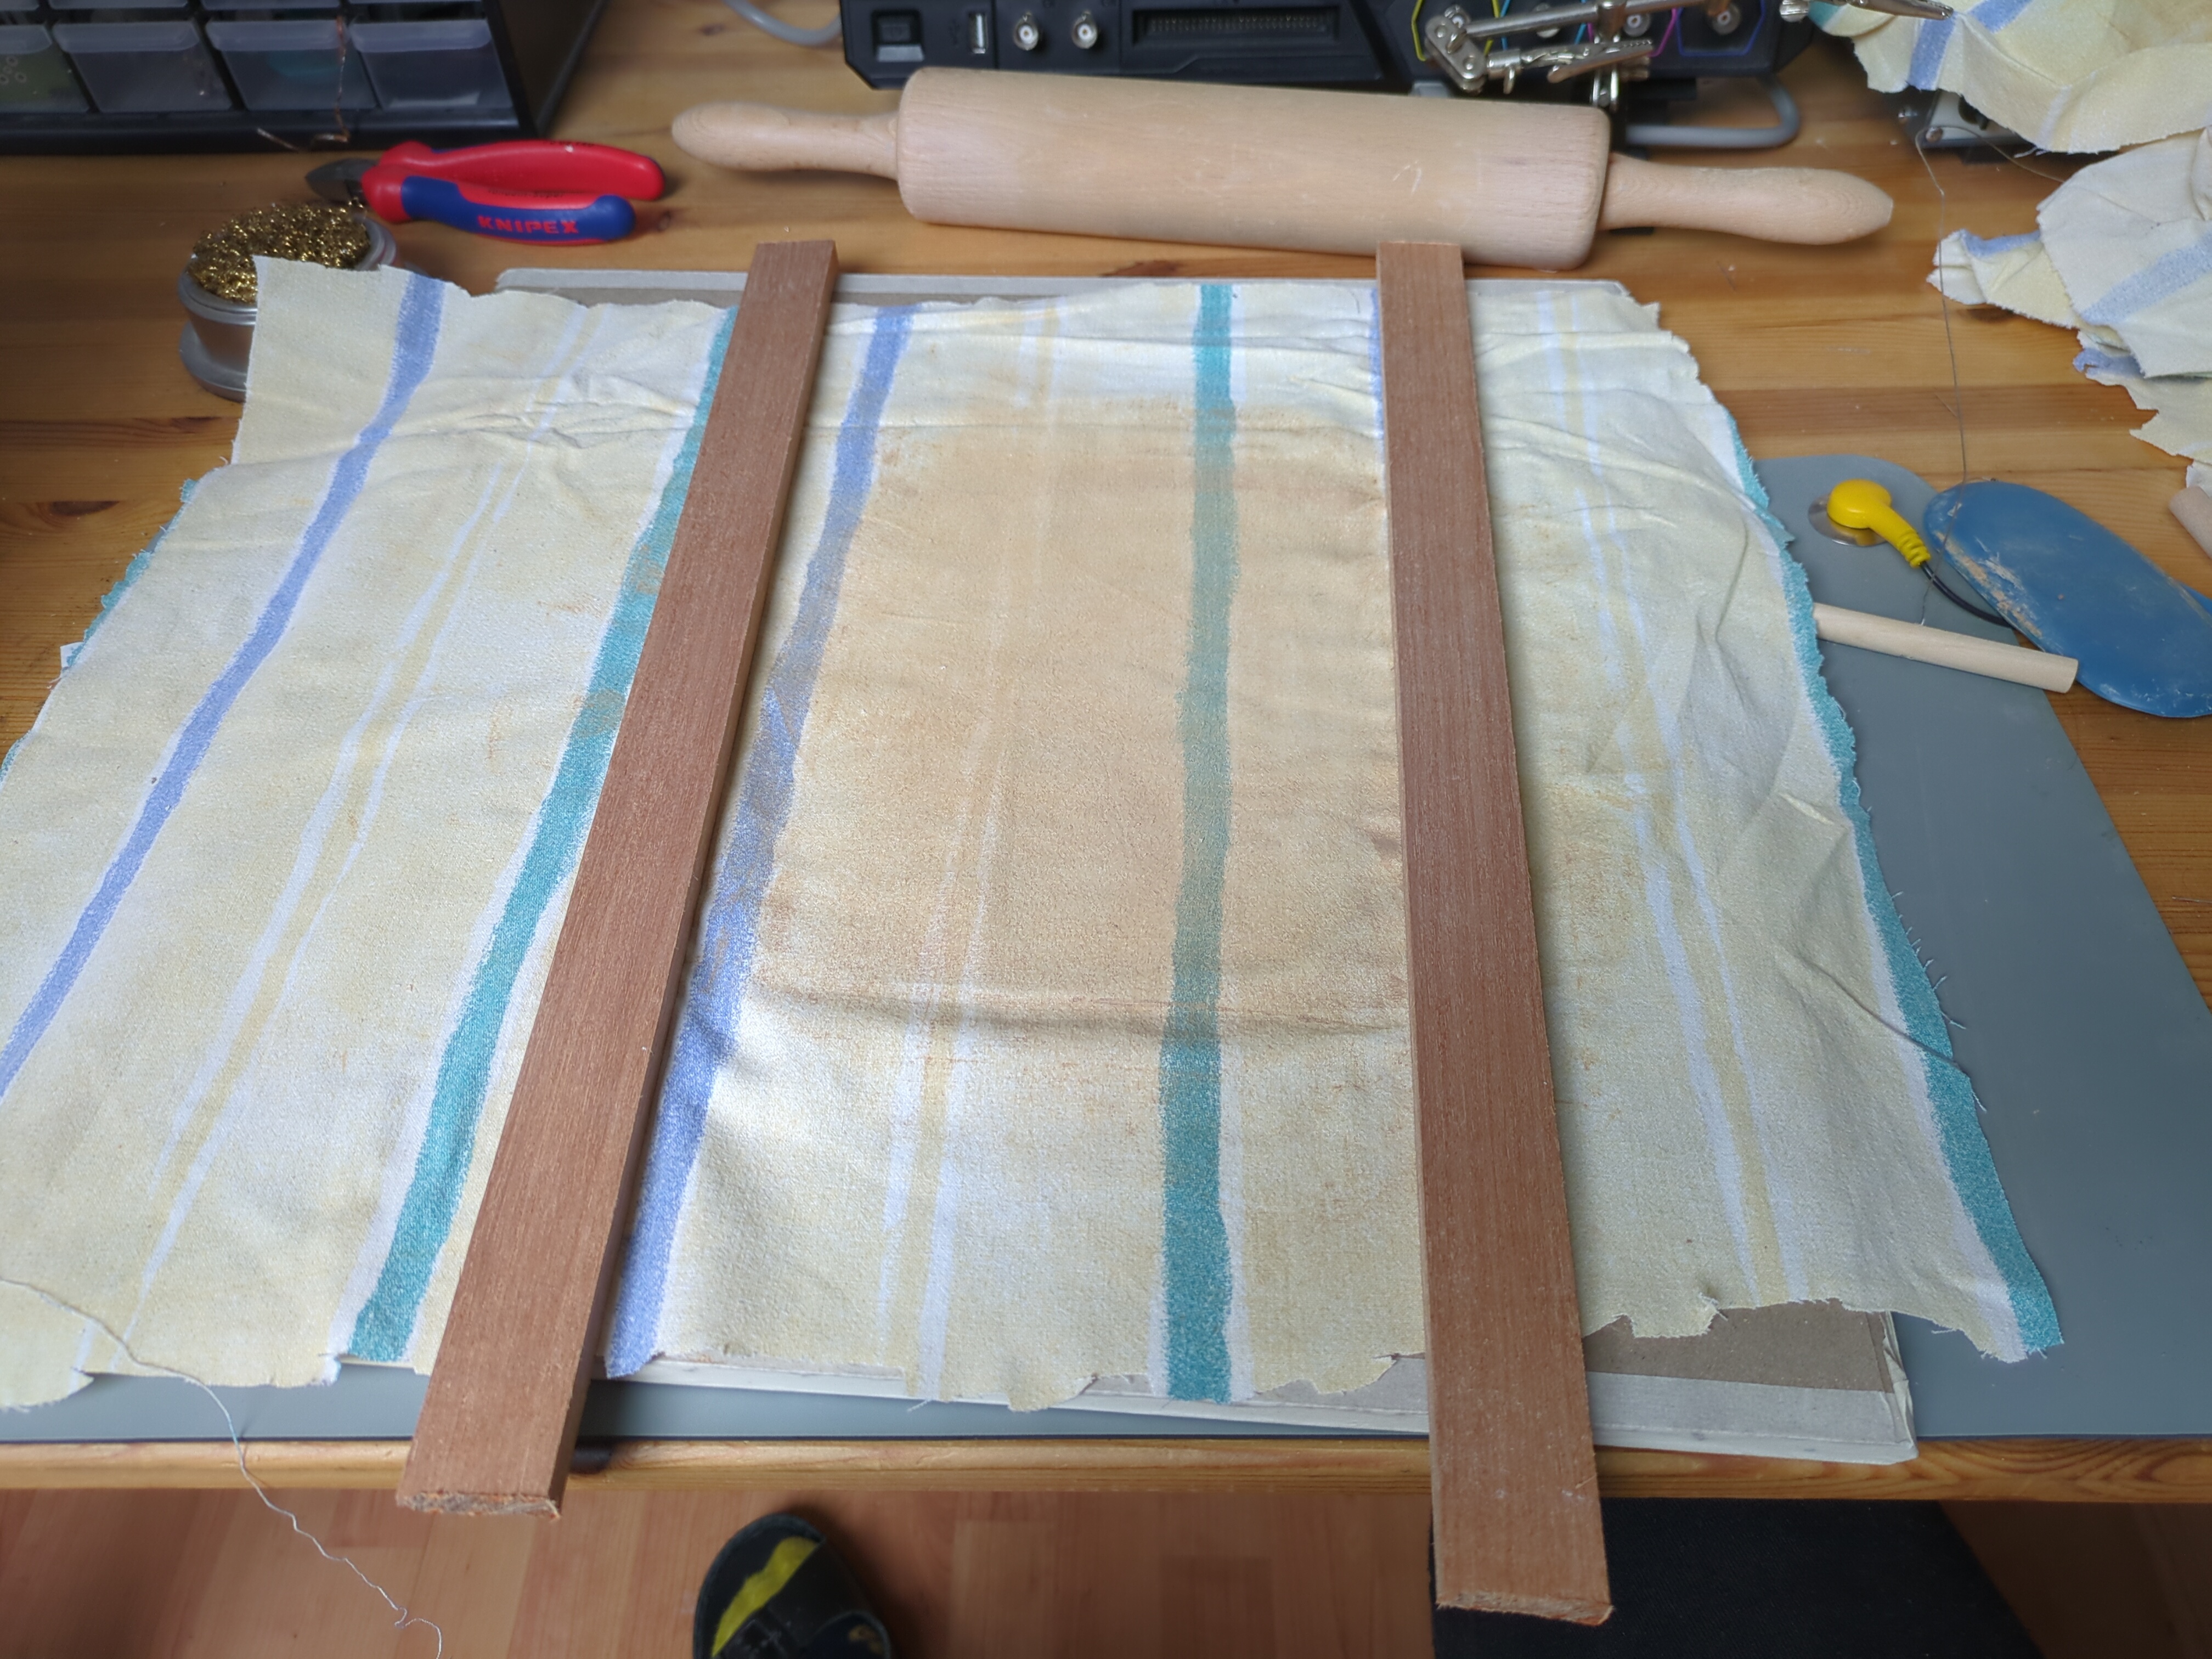
This is a theoretical counterpart to an experimental collaboration between KnowArt and Proper Printing to see if a diagonal guillotine blade cuts better than a horizontal one.

A raised guillotine blade has a certain potential energy which is transferred to the contact point between the blade and the neck. So let’s assume a frictionless spherical cow, I mean neck, and calculate the contact point, force, and energy as a function of the angle of the blade.

The equation of a circle is given by \(x^2-y^2=r^2\), so a horizontal blade intersecting the circle of radius \(r\) at height \(y\) intersects the circle at \(x=\pm\sqrt{r^2-y^2}\). The length of the cut is therefore \(L(y)=2\sqrt{r^2-y^2}\).

For a diagonal blade, we can rotate the reference frame to be aligned to the blade, such that the knife has a horizontal component of \(y\sin(\theta)\) and a vertical component of \(y\cos(\theta)\), creating a contact patch of \(L(y\cos(\theta))=2\sqrt{r^2-y^2\cos^2(\theta)}\).

rotated guillotine

So now we can express the force from the contact area in terms of some constant \(k\) as \(F(y)=kL(y)\) perpendicular to the blade edge, resulting in a vertial and horizontal component:

\[\begin{aligned} F_x(y)&=\sin(\theta)kL(y)\\ F_x(y)&=\sin(\theta)k2\sqrt{r^2-y^2\cos^2(\theta)}\\ F_y(y)&=\cos(\theta)kL(y)\\ F_y(y)&=\cos(\theta)k2\sqrt{r^2-y^2\cos^2(\theta)} \end{aligned}\]

This means that an angled blade creates “leverage” where less force but a longer travel is required. To be precise, the travel is given by \(\frac{2r}{\cos(\theta)}\).

vertical component of cutting force

To compute the total energy required for a cut, assuming the dominant force scales with the length of the contact patch, is the integral of the force over the vertical travel component.

\[W_y = k \cos(\theta) \int_{-\frac{r}{\cos(\theta)}}^{\frac{r}{\cos(\theta)}} L(y\cos(\theta)) dy\]

Now we can simplify by substituting \(u=y\cos(\theta)\), \(dy=\frac{du}{\cos(\theta)}\) and adjust the integration bounds accordingly, cancelling all \(\theta\) terms!

\[W_y = k \int_{-r}^{r} L(u) du\]

So just as much vertical energy is required to cut through the circle no matter the angle, but we’re also excerting a horizontal force. If the guillotine blade is running on math bearings this is of no concern, but for a wooden sled there is a (Coulomb) friction of \(F_c=\mu F_x\) giving

\[\begin{aligned} W_x &= \mu k \sin(\theta) \int_{-\frac{r}{\cos(\theta)}}^{\frac{r}{\cos(\theta)}} L(y\cos(\theta)) dy\\ W_x &= \mu k \tan(\theta)\int_{-r}^{r} L(u) du \end{aligned}\]

But what about the pointy blade? I’m not glad you asked because the math is more messy. We can consider one half of the pointy blade at a rotated reference frame. So we get the same \(L\) as before, but now the blade stops at the tangent line of the blade angle, as follows. But then once the point of the blade exits the circle it becomes two flat sections, forming a piecewise function.

pointy blade geometry

For the first part we have half of a flat blade length \(L\), the uncut section \(M\), and the pointy blade section \(N\)

\[\begin{aligned} L&=\sqrt{r^2-(\cos(\theta)h)^2} \\ M&=\tan(\theta)\cos(\theta)h\\ &=\sin(\theta)h \\ N&=L-M \\ &=\sqrt{r^2-(\cos(\theta)h)^2}-\sin(\theta)h \end{aligned}\]

Giving us

\[\begin{aligned} L_{tot} &=\begin{cases} 2\left(\sqrt{r^2-\cos^2(\theta)h^2}-\sin(\theta)h\right) & -r < h \leq r \\ 4\sqrt{r^2-\cos^2(\theta)h^2} & r < h \leq \frac{h}{\cos(\theta)} \\ \end{cases} \\ F_y &= \cos(\theta)k L_{tot} \end{aligned}\]

pointy force

For the total work, we already know the square root terms are independent of the angle. And since the sum of the integral is the same as the integral of the sum, we only need to concern ourselves with the \(\sin(\theta)h\) term.

\[\begin{aligned} W_p &= k\cos(\theta)\sin(\theta)\int_{-r}^r h dh \\ W_p &= k\cos(\theta)\sin(\theta)\left(\frac{1}{2}(-r)^2-\frac{1}{2}(r)^2\right) \\ W_p &= 0 \end{aligned}\]

So all our blades take the same amount of work to cut through an uniform saussage, with the diagonal blades being worse due to friction. The brachistochrone blade is left as an exercise to the reader.

But there is more to cutting than uniform math saussages. KnowArt indeed found that the diagonal blade seemed to perform worse than the flat blade due to friction. But the pointy blade performed better. The most likely explanation for this is that a horizontal slicing motion is beneficial for cutting. This makes intuitive sense to anyone who’s done some cooking, and was also explained to me by a medical doctor relative as the difference between a sword and a sabre.

But the story goes that the real reason the blade is diagonal is that the king suggested it might help with people with fat necks. Ironically his own fat neck ended on the block some time later.

Earth could be round, Earth could be flat, Earth could have violet sky

My dad likes to argue with flat earthers on Facebook, so I decided to steel man a consistent flat earth theory. The premise is simple: you just take a 3D azimuthal equidistant projection of the spherical world and rewrite physics in the new coordinate system. This is what it looks like:

This is very similar to a geocentric model of the universe, it’s not fundamentally wrong to choose earth as your reference frame, just very inconvenient for describing orbits around the sun. In the same way it’s not fundamentally wrong to assume the earth is flat, but it warps the rest of the universe in strange ways.

For example, here is a round earth. We observe ships disappearing over the horizon, and we observe day and night.

a round earth with a sun shining on it and a person looking at a ship on the horizon

Most flat earth models don’t tend to have satisfactory explanations for sunset, things disappearing behind the horizon, and eclipses. The solution is simple: light curves away from the earth. At some point sunlight curves back into space.

the inverse polar transform of the above image

In this model the sun is still further away than the moon, so a solar eclipse is simply the moon moving in front of the sun as usual. In a lunar eclipse, the light of the sun has to bend so deep that it would touch the earth before it could bend back up to the moon.

A lovely result from this flat earth model is that it clearly answers the questions what is below the earth: the singularity. Even better is that the density of the earth goes down the closer you get to the singularity, meaning the earth is in a sense hollow. Finally a grand unifying theory of hollow earth and flat earth models!

The downside of this model that physics isn’t independent of location and direction. For example the atmosphere is denser in the middle of the disk. A simple equation like \(F=ma\) becomes hellishly complicated if you want it to work everywhere. There is also a magic Pacman teleportation point on the south pole.

This model is internally consistent and impossible to falsify since it is simply a coordinate transform of conventional physics. You can’t make any observations that would disagree with the model and agree with a spherical model since they are the same universe. It is not possible to measure which way of looking at things is “real” because all your observations and tools are curved in the same way. Therefore, you could interpret the earth to be flat.

With the combined skills in Blender and mathematics of me and my brother, we managed to implement the flat earth coordinate transformation in Blender geometry nodes so that you can make a 3D model and see what it looks like on a flat earth.

Blender geometry nodes

We struggled to get lighting to work since Blender would render linear light after the transform, so instead we drew physical light cones with luminescent hemispheres that pass through the transform correctly. Unfortunately this means we can’t render eclipses, but the upside is you can really see the wild curves light makes on a flat earth.

We’ve theorized that it might be possible to bake lighting into the texture as is commonly done for video games, but it’s nice weather outside so we pressed render and left eclipses as an exercise to the reader.

Published on

Library 2000 part 2: Tablets for Sale

I’m making a clay tablet library with media from around the 20th century, to preserve our culture for the ages and answer the question: What do we want the distant future to know about us?

A lot has happened since the first part:

  • I renamed the project after learning about lithopedion
  • I had a private lesson from ceramic artist Ilse Scholten
  • I rewrote my text to gcode scripts
  • I made a bunch of tablets and had them fired
  • I started working towards a website for the project

Let’s start from the result and work back through the details. I made a bunch of clay tablets, had them fired by Ilse, and put them up for sale on my Etsy store. Here is a photo album to check out:

Library 2000

The reason it took so long to get the second update out is that I wanted to build a proper website with the concept, motivation, tutorials, a gallery, and a webshop. But as a suprpise to no one that’s quite a big project on its own, so I finally decided to write another update on my blog meanwhile.

The first key element to the new proccess is my newfound gcode swiss army knife: vpype. With vpype-gcode turning an SVG or text file into gcode is a one-liner, you just need a config file for your CNC and a few command-line flags.

vpype --config vpype.toml pagesize a5 text --position 1cm 1cm --wrap 12.5cm --size 22pt --hyphenate en --justify "$RANDOM_PAGE_TEXT" linemerge show gwrite --profile cnc random.gcode

But the biggest change was in the preparation of the clay slab itself. I abandoned my failing attempts at making a mold, and followed Ilse’s advice to roll the clay between strips of wood.

Tutorial

Materials needed:

  • clay (0.2mm chamotte)
  • clay wire cutter
  • clay rib
  • dough roller
  • plasterboard
  • hardwood strips (5mm to 10mm thick)
  • some old bedsheet
  • knife

To make a clay tablet you obviously need clay. It is important that the clay contains chamotte, which makes it less likely to explode in the oven. It’s also nice if the chamotte is small to get smooth writing. Clay with 0.2mm chamotte has worked the best for me.

We need a very flat surface, we’re aiming for sub milimeter precision to get consistent writing. Plasterboard is the surface that Ilse recommended, which has worked well for me. (unlike wood which will warp) I cut off roughly square sheets and taped the edges so we can safely move the drying tablets around.

It is very important to work on top of a smooth non-strechy cloth. I use a cut up cotton bedsheet. This allows us to flip the tablet over, inspect it for air bubbles, and prevents it from sticking to the plasterboard and warping while drying.

working surface

Now we can get to work. Cut off a piece of clay with a wire cutter, place it on the cloth betweent the wood strips, and use the dough roller to flatten it out. If you’re reusing scraps from a pervious tablet, first knead the clay into a ball, while making sure not to knead any air bubbles.

roll the clay

After rolling it flat we can cut off the excess clay with a knife. I use a folded piece of paper as a reference. Then take the rib and smooth out the surface, making it nice and shiny.

An important step at this point is to slightly lift the fabric, bending the tablet. If there are any air bubbles they will show up as little blisters. Poke them with a knife and flatten the tablet again.

Now cover the tablet with a cloth and flip it over, taking care not to leave fingerprints. Then take the rib and smooth the other side. Then flip it to whichever side looks nicer to become the front.

finish the tablet

With my current process I put the entire board with the wet clay tablet right under the CNC. I give it a final roll with the dough roller because clay has a little bit of memory. Then I zero the CNC on the wood strip to get the correct height without leaving a mark. For the CNC bit I actually use a thick needle in a 2mm chuck at 0 RPM, I found that the stationary sharp point produces the finest writing in the wet clay.

A sneak peak at my current experiments is that I’m trying out what happens if you let the clay dry a little bit. Maybe there is a sweet spot where you can CNC it without accumulating or chipping, but I’ve not yet found it. I’m also experimenting with V-carving to be able to engrave more complicated graphics such as mathematical equations. My current goal is to engrave Maxwell equations on a tablet, so that’s a whole new can of worms.

Published on